build-an-openai-powered-vscode-extension-in-no-time
These days, everyone is talking about ChatGTP, which is a powerful AI tool that can have natural conversations with humans. It is powered by OpenAI. I have started to use ChatGPT in different scenarios. Besides using it to write some scripts, I also use it to revise or translate some text. In some cases, it provides a better result than Google Translate or DeepL. However, I still need to copy and paste the text to the website. I often use VS Code to write or translate technical documents, so I want to integrate AI power into my VS Code. Similar to Translator Helper, I spent around three hours building an OpenAI-powered VS Code extension. The extension is called ReVision. It is an open-source project, and you can find the source code on GitHub.
In this article, I will show you how to build an OpenAI-powered VS Code extension in no time. With the help of AI, the productivity of developers will definitely be improved.
Idea
One thing in my daily work is to write various technical documents or emails. Previously, I used some tools such as Grammarly to check the grammar. In some cases, I may need to rewrite the whole paragraph in another way. For example:
1 | Revise the text in a professional style: |
ChatGPT can help me to revise the text in a professional style:
1 | Code review is an integral aspect of our daily development process. While it is essential for developers to stay abreast of the latest features and trends in languages, DDD, distributed systems, and other advanced concepts, it is imperative to prioritize writing robust and maintainable code. In light of this, I would like to share some tips from my recent code review experience, which I believe will prove beneficial to you. |
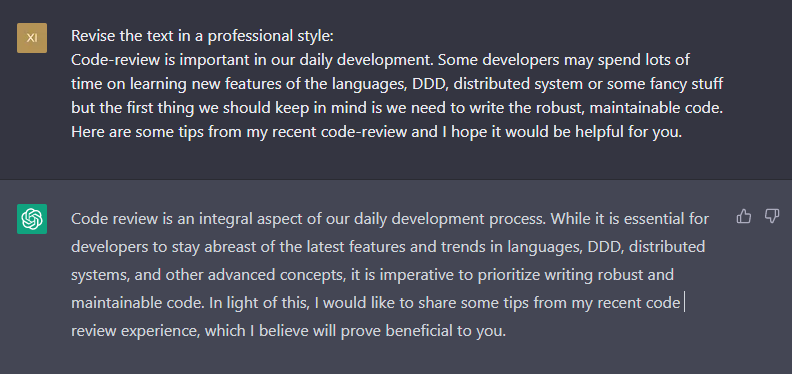
You may find that the revised text has more professional words and the sentence structure is better. It is a good tool to help me write a better document (and improve my English writing skills).
Note
There are some arguments about whether we should use AI to produce content, and whether the content produced by AI is meaningful. For sure, students should not use AI to cheat in their exams. I won’t discuss this topic in this article because it is out of the scope.
We can also use ChatGPT to translate the text. For example, I can translate the following text from English to Chinese:
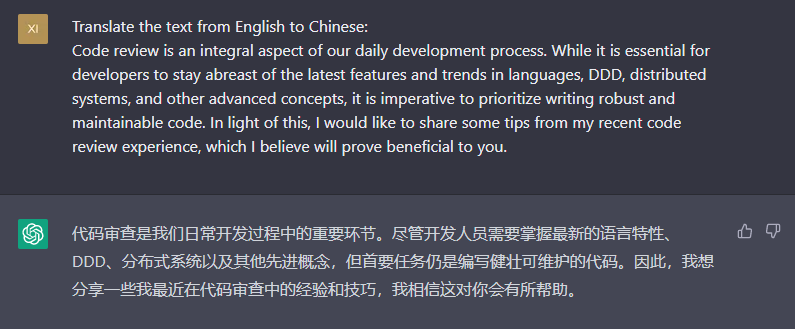
ChatGPT is powered by OpenAI, which provides a powerful API to use its AI model. My idea is to follow the approach of Translator Helper to build an OpenAI-powered VS Code extension so that I can easily revise or translate the text in VS Code without leaving the editor. Because I have already built the Translator Helper, I can reuse some code to build the new extension.
Creating an OpenAI account and getting the API key
The first step is to create an OpenAI account and get the API key. You can create an account on OpenAI. After creating the account, you can get the API key on the API Keys page.
Note that the API key only shows once. You need to save it somewhere safe. If you lose the API key, you need to create a new one.
OpenAI provides a set of examples to show you how to use the API: https://platform.openai.com/examples. Here is an example to translate the text from English to three different languages:
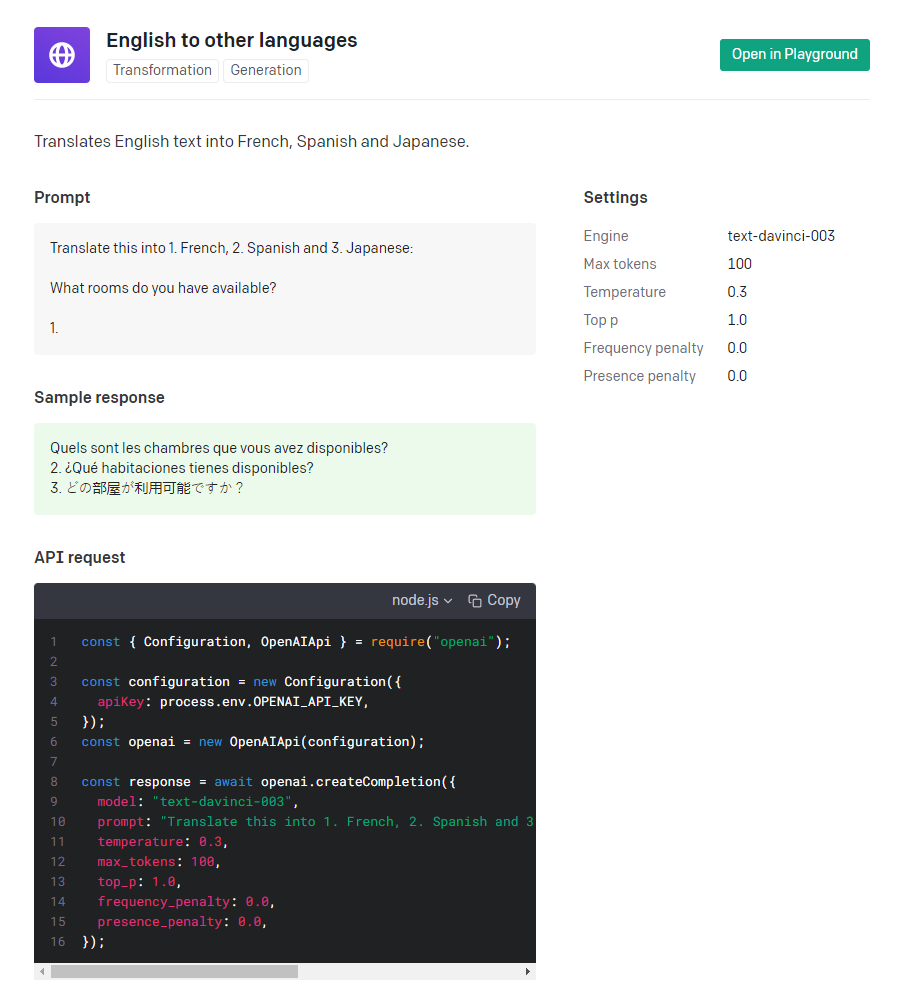
So the basic usage of the API is to send a request to the API endpoint with a Prompt:
1 | Translate this into 1. French, 2. Spanish and 3. Japanese: |
Similarly, we can use the API to revise the text. OpenAI provides a playground to test the API: https://platform.openai.com/playground. Let’s try to revise the text:
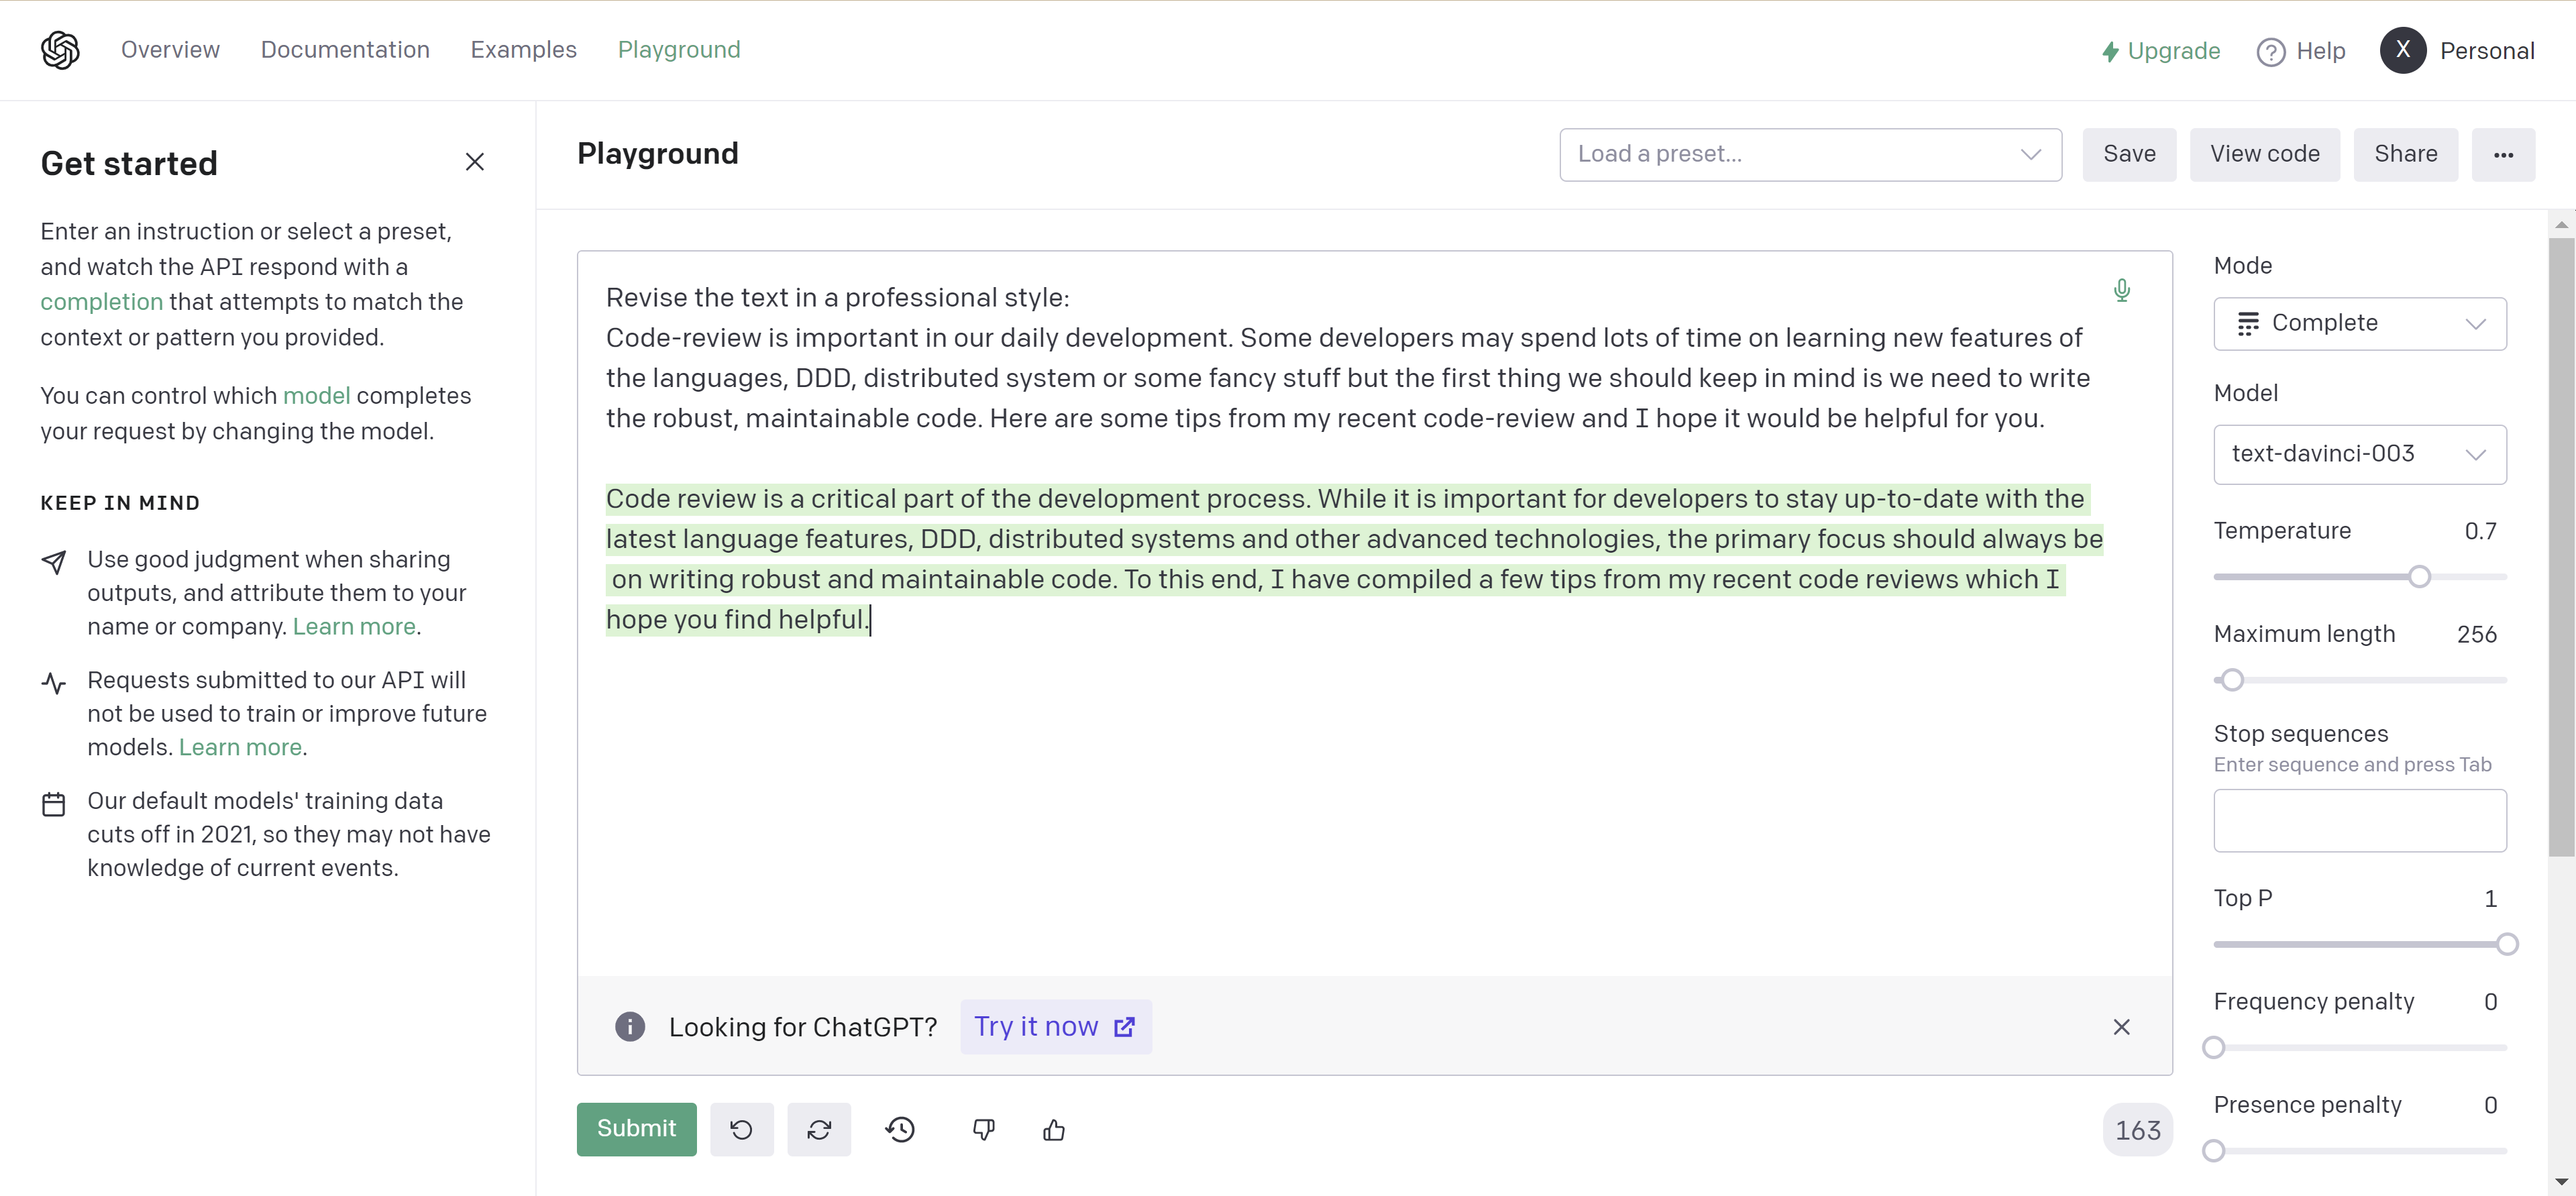
In the settings panel, you can choose settings such as Model, Temperature, and Top P, etc. The default settings are good enough for most cases.
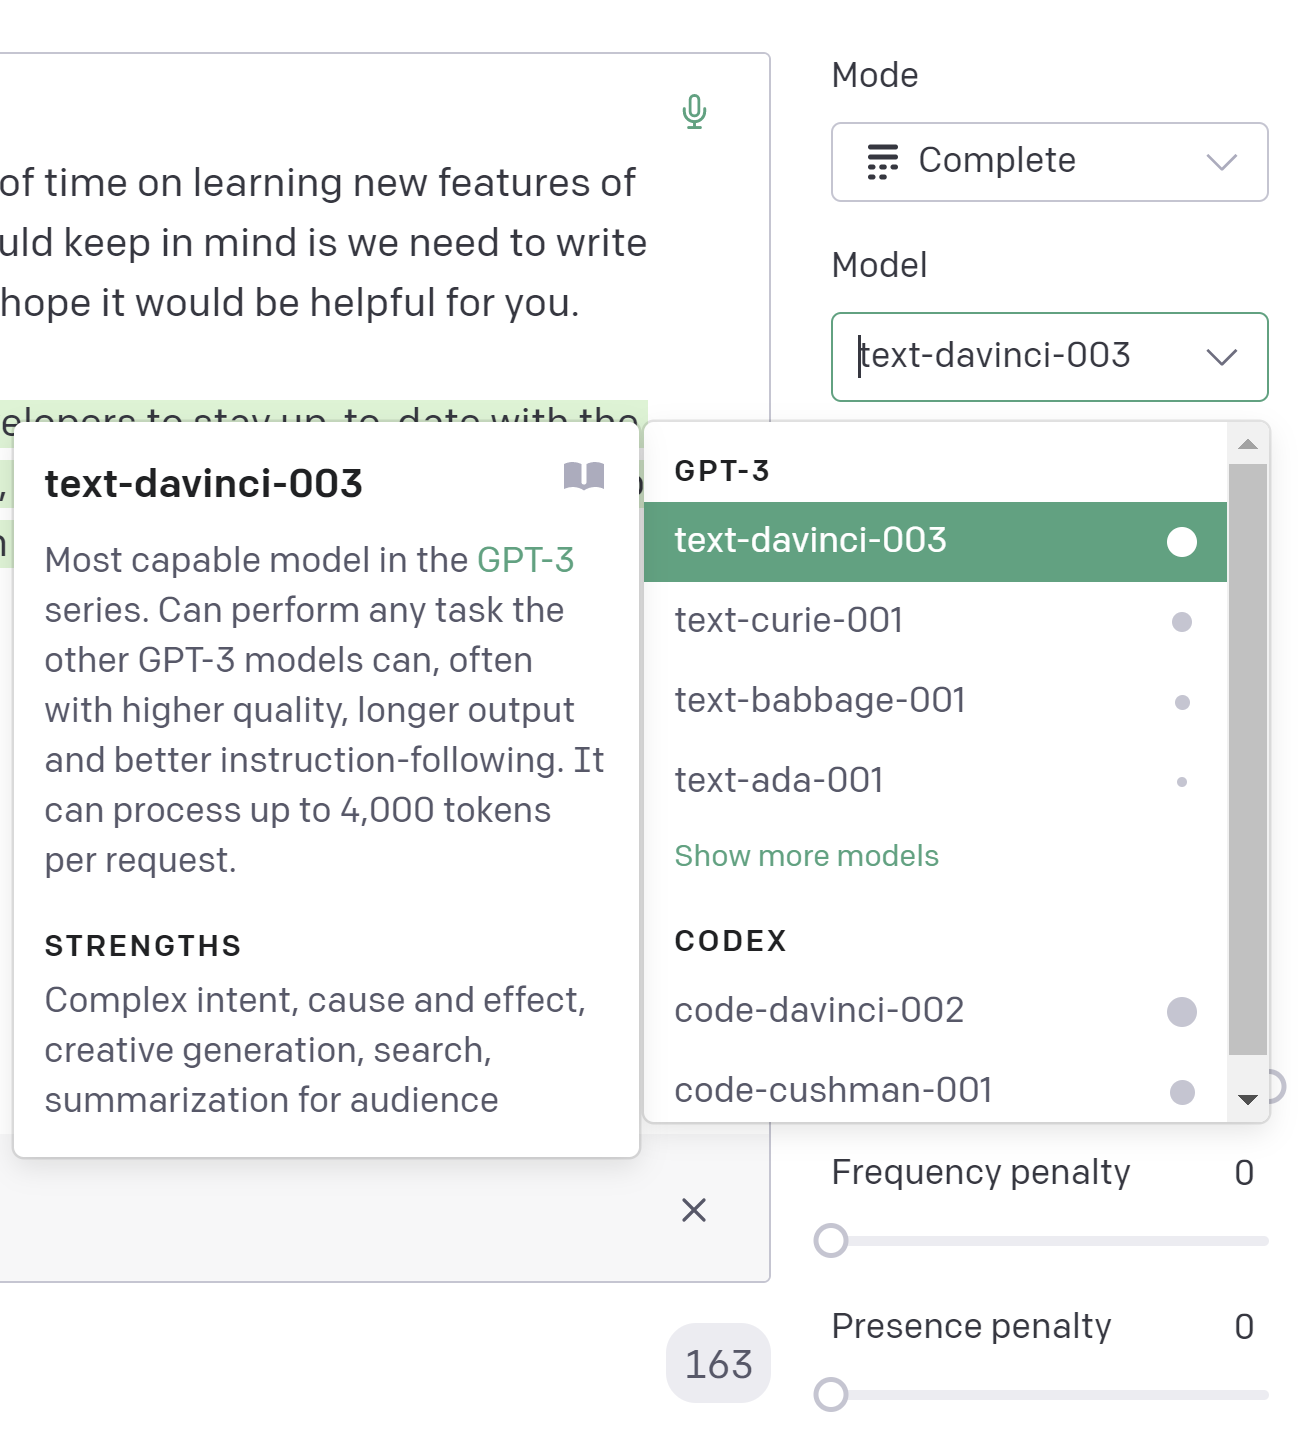
To learn more about the settings, you can read the OpenAI API documentation.
Creating the extension
Now we have the API key, we can start to build the extension. First, I asked ChatGPT to advise me on what name I can use.
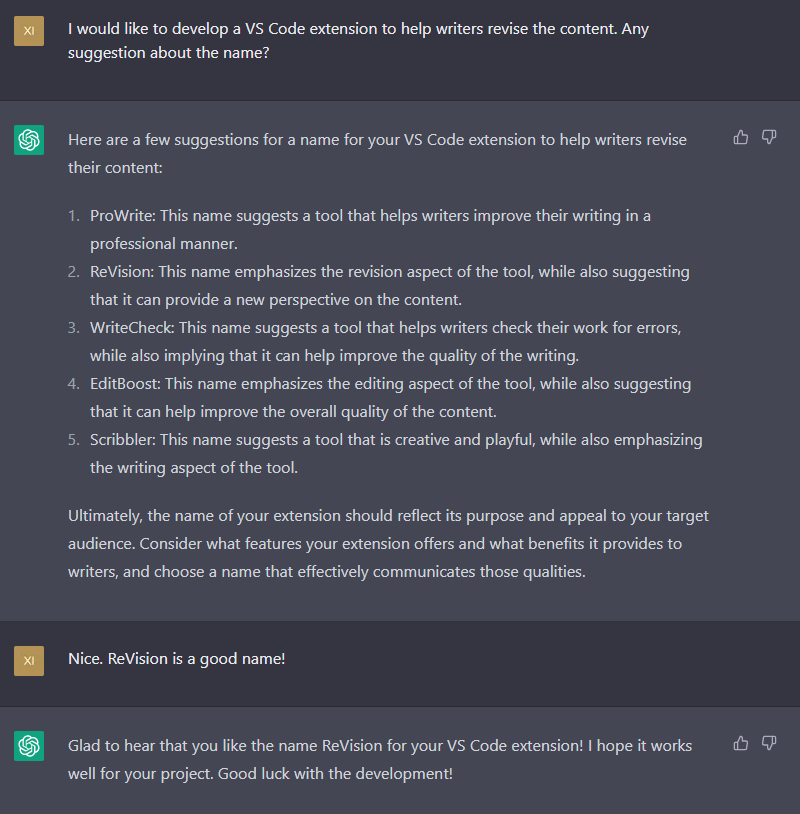
Not bad, isn’t it? I would use the name ReVision for the extension.
So the next step is to create a new VS Code extension project. You can find more information about how to create a VS Code extension project in the VS Code document: Your First Extension. I will skip this step and assume that you have already created a new VS Code extension project.
Installing the OpenAI SDK
OpenAI provides a set of SDKs to help developers to use the API. You can find the SDKs on this page: https://platform.openai.com/docs/libraries. I will use the OpenAI Node.js SDK. Run the following command to install the SDK:
1 | npm install openai |
Writing the code
The idea is similar to Translator Helper. We click a paragraph and then press a shortcut key to trigger the extension. The extension will automatically select the whole paragraph and then send a request to the OpenAI API endpoint. The response will be inserted into the editor after the current paragraph.
Using different shortcuts, we can send different requests to revise or translate the text. For example, we can use shift+alt+r to revise the text and use ctrl+shift+t to translate the text.
Extension configurations
We will need two commands: revision.reviseInsert and revision.translateInsert. Here are the settings for commands and keybindings in the package.json file:
1 | "commands": [ |
We also need these configurations in the package.json file:
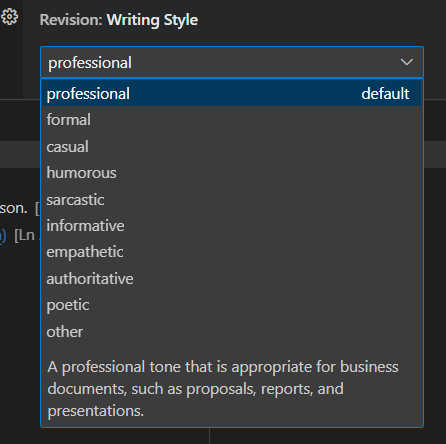
revision.openAIApiKey: the API key of OpenAIrevision.writingStyle: the writing style, which can beprofessionalorcasualrevision.sourceLanguage: the source languagerevision.targetLanguage: the target language to be translatedrevision.maxTokens: the maximum number of tokens to be generated. OpenAI API has a limit of 4097 tokens shared between prompt and completion.
We can provide some default styles in the package.json file:
1 | "revision.writingStyle": { |
By the way, these settings and descriptions were generated by ChatGPT as well.
So users can choose the writing style in the settings panel:
Extension code
We can reuse lots of code from Translator Helper, including the code to get the current paragraph and the code to insert the text into the editor. The main difference is the code to send the request to the OpenAI API endpoint.
Here is the code to revise the text:
1 | async revise( |
The code to translate the text is similar:
1 | async translate( |
The core code here is just to get the selected text and build a prompt. OpenAI API will generate the text based on the prompt. You can fine-tune the parameters to get better results. Prompts are very important in AI applications. You can read more about it here: Best practices for prompt engineering with OpenAI API. I think prompts may be a future programming language for developers - who knows?
The code to insert the text into the editor is the same as Translator Helper.
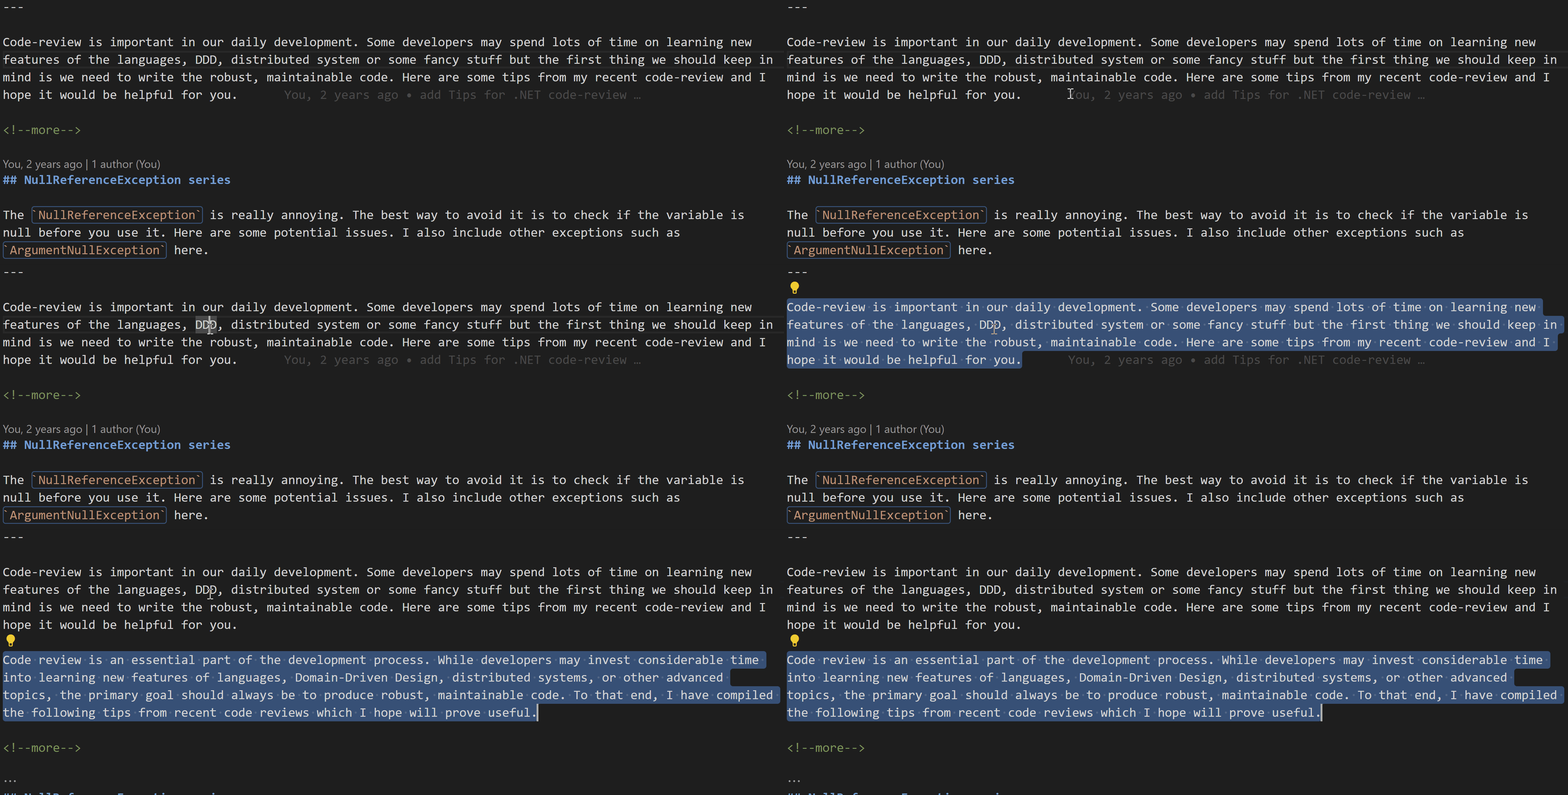
Now when we edit the text, we can press shift+alt+r to revise the text:
And press ctrl+shift+t to translate the text:
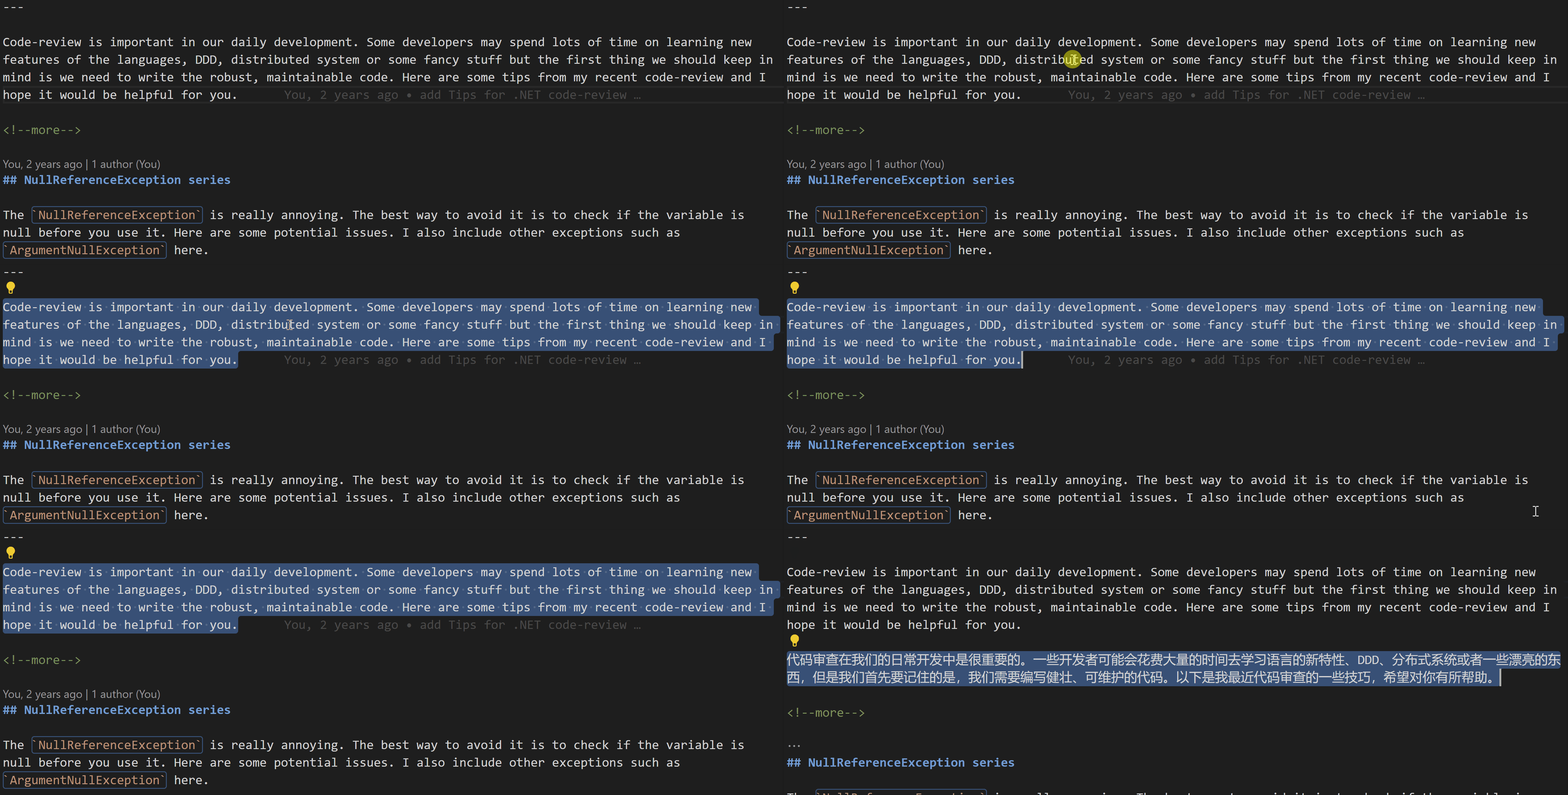
It’s nearly done!
Publishing the extension
I have described how to publish the extension in the previous post, including how to set up the Azure DevOps pipeline. So I won’t repeat it here.
Summary
In this article, I have shown you how easy it is to develop a VS Code extension using the OpenAI API. OpenAI API provides various possibilities for developers. Check the examples of OpenAI and see if you can find any interesting ideas. The code of ReVision is available on GitHub: vs-code-revision. Try this extension in VS Code and feel free to leave comments and suggestions. Thanks for reading!