Using Azure Automation Runbooks and Schedules to automatically turn on/off your VMs
Azure Automation is a service of Azure that allows us to automate Azure management tasks and orchestrate actions. It is widely used in operations to help us save time and reduce human errors. Recently, I just created the scripts to turn on/off the virtual machines on schedules to save cost. If you have the same requirement, feel free to copy/paste the scripts and save your money.
I assume you already have your Azure subscription. And you may have a few VMs deployed in Azure, but we know the price of VMs is quite expensive and it would be better to deallocate the VM when you do not use it. A scenario is you probably have your own build agents for your DevOps pipelines, and you do not need to keep them running on weekends. There are many ways to do that, such as Azure Functions or just create a script on your laptop. In this article, I will show you how to use Azure Automation to automate this process with Runbooks and Schedules. In this article, I will be focusing on the PowerShell scripts because you can re-run it any time and it is easy to share. You do not have to type the scripts now. I will explain the fundamentals and you can just copy the out-of-box script at the end of this article.
Find more here: An introduction to Azure Automation.
Creating an Automation account
Before we get started, we need to have an Automation account. Unfortunately, we cannot use ARM template to create Automation account for this scenario because ARM template does not support the creation of the Automation Run As account, which is required in the scripts. Run As account provides the authentication for managing resources in Azure. Basically, it creates certificates in the specified Automation account. For more detail: Manage an Azure Automation Run As account.
We can use Azure portal to create an Automation account with Run As account support.
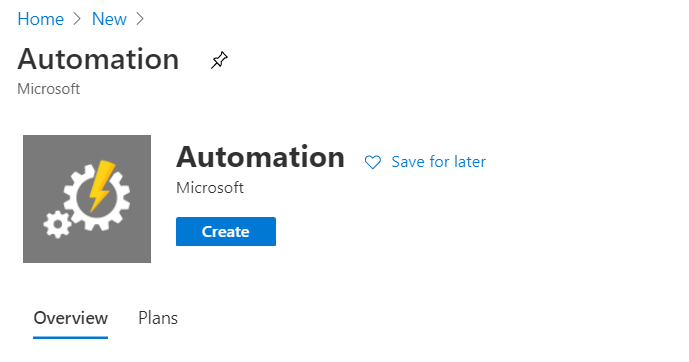
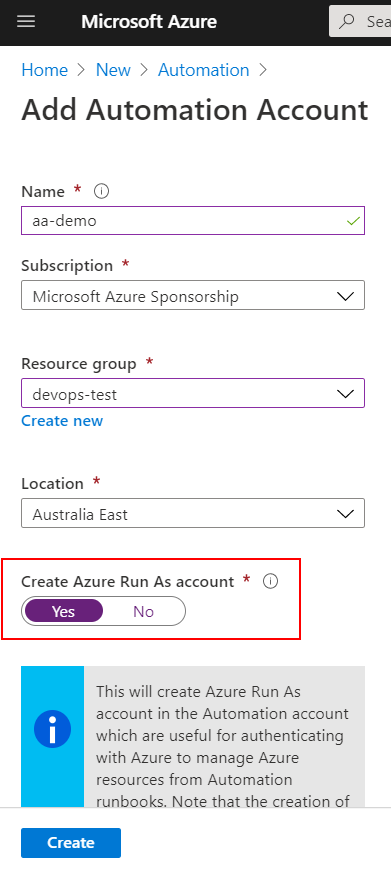
I will not copy/paste the full steps because you can find the detail here: Create a standalone Azure Automation account. One thing you need to be aware of is when you create it in Azure portal, please make sure Create Azure Run As account is selected:
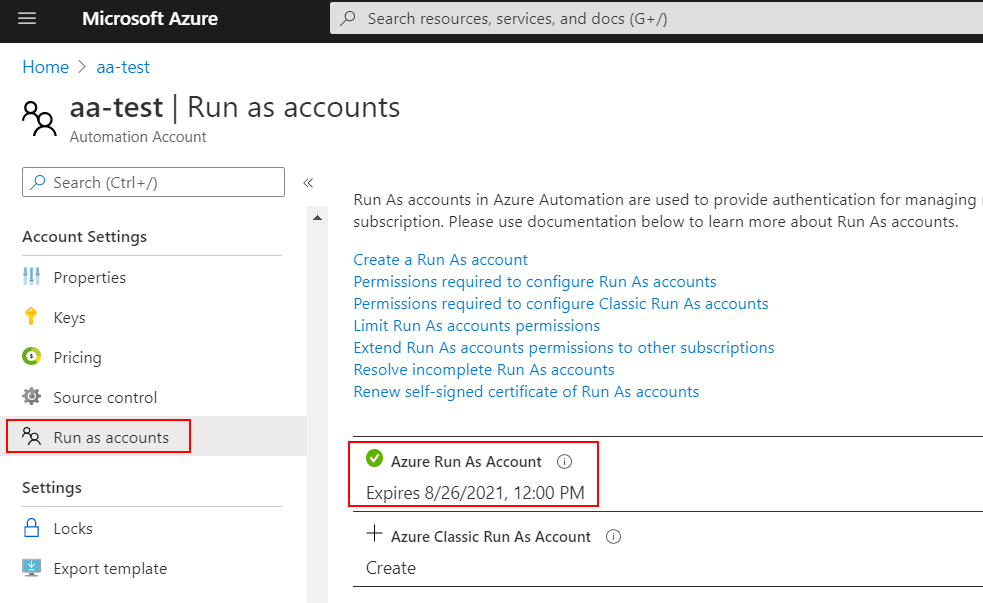
Once the Automation is created, you can check the Run as accounts in Account Settings section:
Now let us set up the environment.
Updating to PowerShell 7.x
Windows 10 has PowerShell 5.x installed by default. You can use the below command to check the version of PowerShell:
1 | Get-Host | Select-Object Version |
or
1 | (Get-Host).Version |
On my current laptop, the version is 5.1.18362.752. However, PowerShell 7.x and later is the recommended version for use with Azure on all platforms. It supports multiple platforms, such as Windows, macOS, and Linux. So we will use it today. You can find more detail here: Migrating from Windows PowerShell 5.1 to PowerShell 7.
Please download and install PowerShell 7.x here: https://github.com/PowerShell/PowerShell/releases/
Creating a script to start/stop VMs
Now, let us create the runbooks to start/stop VMs. Create a folder named automations then create a subfolder named runbooks. Use VS Code to open it. Next, create a new file named aa-startVMs.ps1 in runbooks folder. Update the content like this:
1 | Param( |
I created two parameters for this script. The first one is an array that contains all the VMs you need to control. The second parameter is the resource group name. Then we login by the Run as account. Finally, we use Start-AzureRmVM cmdlet to start the VMs.
Similarly, you can create a aa-stopVMs.ps1 script to stop the VMs in runbooks folder:
1 | # The login script is omitted here |
You can create the runbooks in the Azure portal. But we will use the PowerShell script to import the runbooks.
Creating deploy script
Create a new script in automations folder and name it as deploy.ps1. Then add some parameters as shown below:
1 | [string]$SubscriptionName = 'YouSubscriptionName' |
These parameters can help us easily change the configuration if we need to re-deploy the script. For this case, I will turn on the VMs at 9:00 am and turn off them at 5:00 pm every workday.
Installing Az module
Starting in December 2018, the Azure PowerShell Az module is in general release and is now the intended PowerShell module for interacting with Azure. If you have installed PowerShell 7.x, you can install Az module without impacting the existing AzureRM module.
We need to make sure the required Az module installed on our laptop. Add the below script to deploy.ps1:
1 | # We do not support having both the AzureRM and Az modules installed for PowerShell 5.1 on Windows at the same time. |
You can run the above script separately in PowerShell 7.x to install the latest Az module. But for easy-sharing, I will leave it in the deploy.ps1 script so anyone who has not installed PowerShell 7.x does not need to worry about that.
Then we can use Connect-AzAccount cmdlet to connect to your Azure account. Add the below script to deploy.ps1 script:
1 | $SubscriptionName = 'Your subscription Name' |
Because you probably have multiple Azure subscriptions so here we need to specify what subscription you need to operate in case you have another default Azure context.
When you run the script, you will need to open a link then type the given code to complete the authentication. Then you can use the new Az module to operate the Azure resources.
For more details about migrating from AzureRM to Az: Migrate Azure PowerShell from AzureRM to Az.
Importing Runbooks
Next, we need to import the runbooks we created in runbooks folder. But we also need to make sure the automation Run as account exists. Add the below script to deploy.ps1:
1 | # Ensure that the Run As Account exists: |
Then we can find the scripts in runbooks folder and import them:
1 | Write-Output "Deploying runbooks..." |
With this script, we can import the runbooks to the given automation account.
Creating Schedules
To schedule a runbook to start at the specified time, we need to create a schedule then link the runbook to it. A schedule can be configured to either run once or on a recurring hourly/daily/weekly/monthly or specific days of the week or months. We can link one runbook to multiple schedules, or multiple runbooks can be linked to one schedule. For more detail: Manage schedules in Azure Automation.
The next step is to create the schedules to execute the runbooks. We will create two schedules:
1 | Write-Output "Deploying schedules..." |
The schedules are set up to be executed from tomorrow.
Registering the Runbooks and Schedules
The last section of the deploy.ps1 is to link the runbooks and schedules. For more detail: Link a schedule to a runbook.
We will add the scripts as below:
1 | $RunbookParams = @{"VmNames" = $VmNames; "ResourceGroupName" = $VmsResourceGroupName } |
In this section, we need to specify the parameters for the schedules to run the runbooks. Also, we need to check if the registration already exists. If yes, we need to remove the registration then create a new one.
Deployment
The final step is to run the deploy.ps1 script to deploy them. Run PowerShell 7.x as administrator and navigate to the automation folder then type the below command:
1 | .\deploy |
You will see a message that shows you need to open a link then type the given code to complete the authentication. Then you would see the required runbooks and schedules are configured in your automation account:
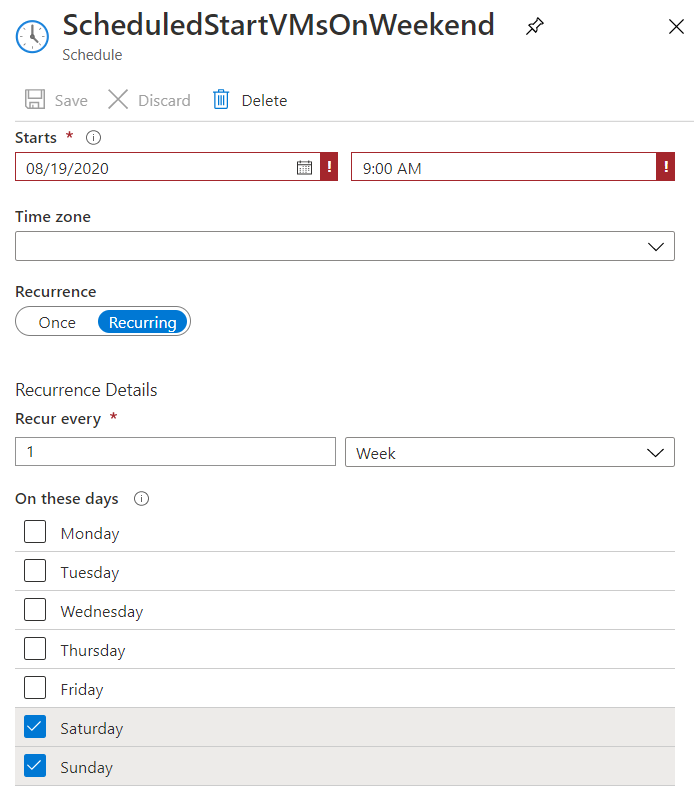
So what if we need to start/stop VMs at different time on weekends? The easiest way is just create another schedule with different parameters. For example, I want to set up a schedule for Saturday and Sunday, so I can use the below parameter for $WeekDays:
1 | [System.DayOfWeek[]]$WeekDays = @([System.DayOfWeek]::Saturday,[System.DayOfWeek]::Sunday) |
Then you will get the schedule like this:

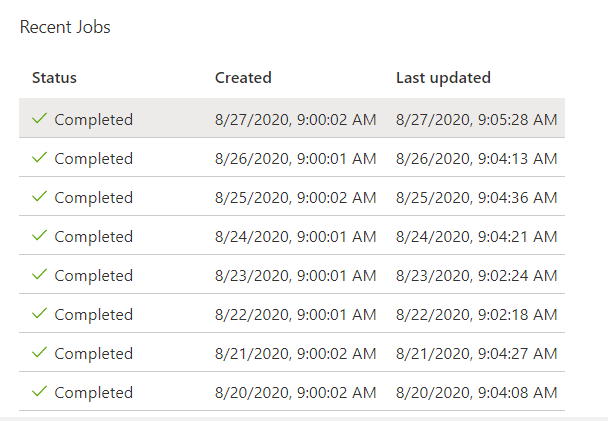
You can check the recent jobs of your runbooks on the Overview page:
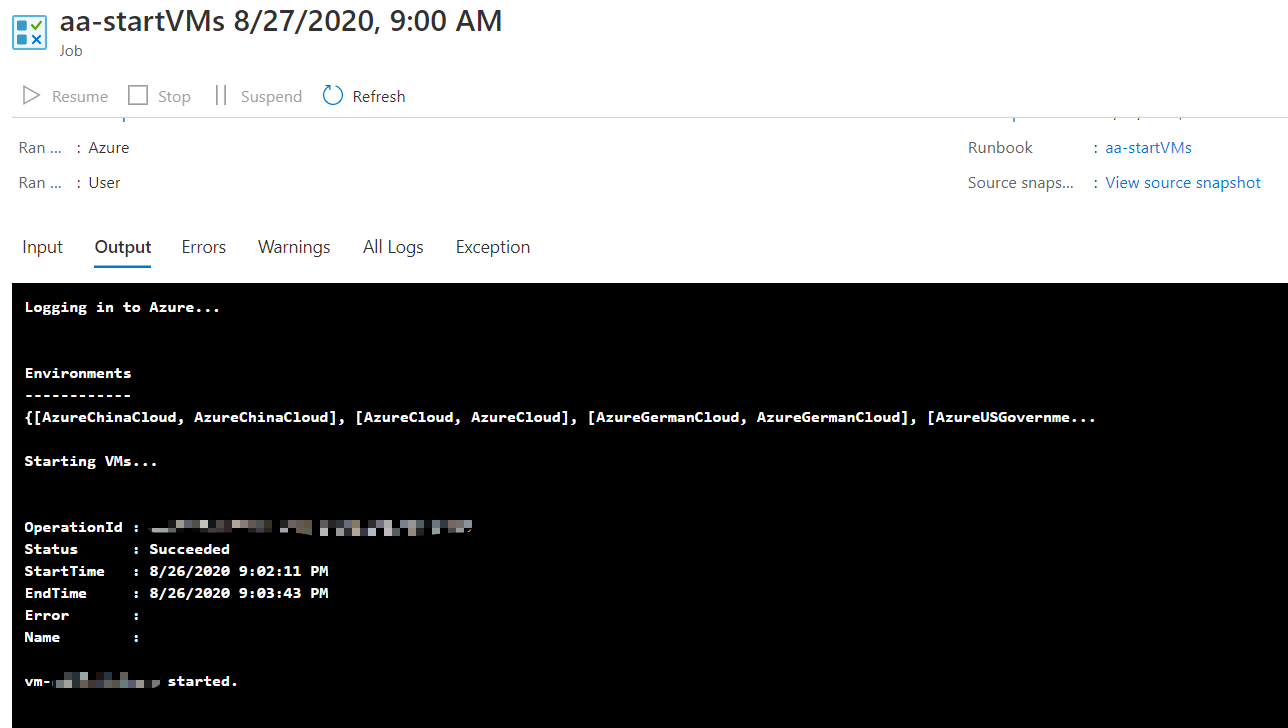
And see the output:
Summary
In this article, I demonstrated how to write a reusable PowerShell script to automatically turn on/off your VMs to save money. One thing you need to be aware of is the default self-signed certificate you created for the Run As account will be expired after one year. So you need to renew it before it expires. Please follow the link to renew it if you need: Renew a self-signed certificate
You can find the scripts here: Azure Runbooks & Schedules to start/stop VMs. Feel free to copy/share it.